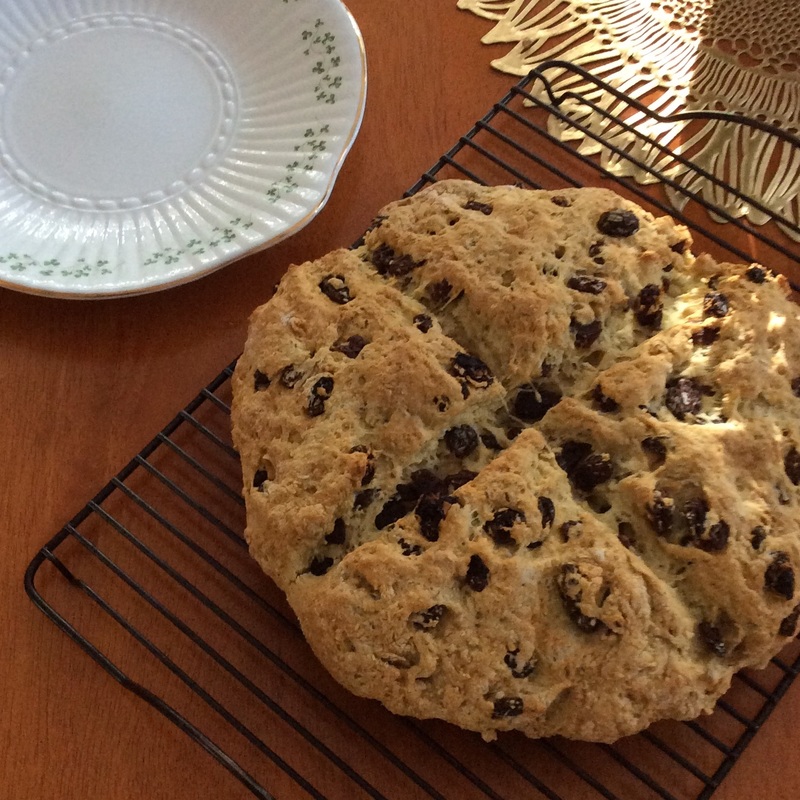
 St. Patrick's Day is this coming Thursday, and that prompted a special Saturday dinner: corned beef with a mustard-brown sugar glaze, colcannon, soda bread, and roasted carrots, followed by chocolate Guinness cupcakes with Bailey's Irish Cream frosting. So good.
0 Comments
In A Pickle Over Marmalade Researching today's post, I've found the second (maybe!) of two projects for my Always a Project in Progress feature coming in March: marmalade. My plan is to announce and start two projects in March and post as I go along. I'd love to have you work alongside, too. Winter brings oranges, and an opportunity to try a bit of canning again. I made marmalade once before with not-so-good results, so this will be my second attempt. In the meantime, I wanted to post a recipe for bread and butter refrigerator pickles . . . refrigerator pickles have a shorter shelf life (you've got to eat them within a month), and that makes them quicker and easier to make. These I've made a number of times with good results. And refrigerator pickles are a good introduction to canning because they eliminate one big step: boiling the jars after you fill them. Of course it would be nice to have cukes from the garden, but if you'd like the bright flavor of bread and butter pickles mid-winter, fresh from the grocery store are a good substitute. 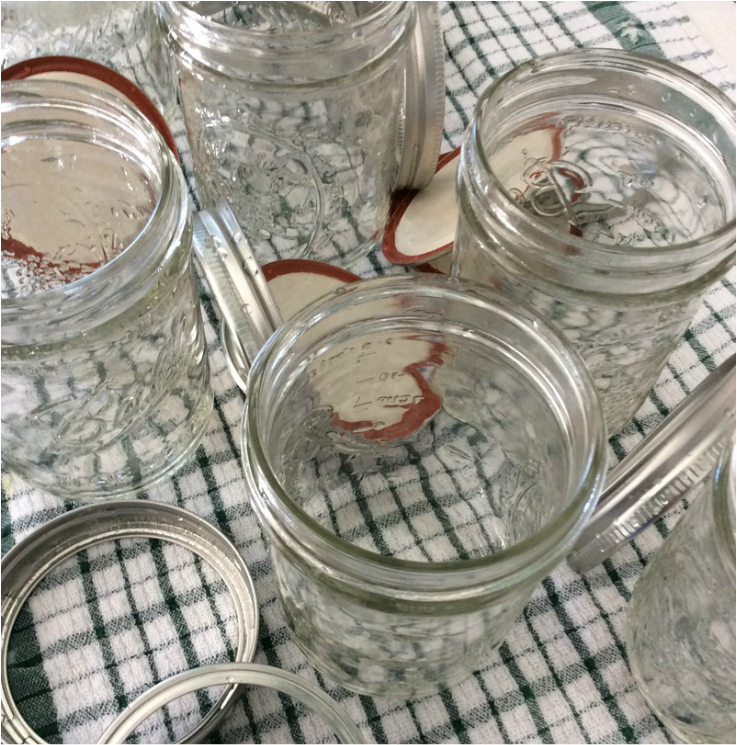 Clean Jars and Lids Bread and Butter Refrigerator Pickles
Yield: 6 16-ounce jars Ingredients 6 cups thinly sliced pickling cucumbers (about 2 pounds or 8-10 cucumbers) 2 cups thinly sliced onion 3 cups white vinegar 1-1/2 cup sugar 1-1/2 teaspoon salt 1 teaspoon mustard seeds 1 teaspoon celery seeds 1 teaspoon ground turmeric 1 teaspoon crushed red pepper (these are a bit spicy, cut back if desired) 1/2 teaspoon freshly ground black pepper 8 garlic cloves, thinly sliced Six wide-mouth canning jars (16 0z.) and rings with new lids (run everything through the dishwasher or clean with hot soapy water before you begin). Preparation Alternately layer cucumber slices and onion in jars, filling and pressing lightly as you go, distribute evenly in all six jars. Combine vinegar and remaining ingredients in a small saucepan; stir well. Bring to a boil; cook 1 minute. Pour over cucumber mixture; let cool. Cover and put in the refrigerator at least 4 days before eating. Up-end jars daily to distribute liquid. Keep refrigerated. Note: Pickles may be stored in the refrigerator for up to one month. Adapted from www.myrecipes.com Easy Refrigerator Pickles This is a Calendar of Days Post: Canned Food Day  Split Pea Soup - that’s what I remember growing up, and when I started cooking, it’s what I made. Dry peas, soaked (sometimes overnight), and then soup. I like pea soup, but was never a fan of all the soaking and waiting.
And then I discovered pea soup with frozen peas—delightful. No soaking, so it’s ready in a flash. And it’s a brilliant green, unlike the dull green that results from the dry split peas. I think the frozen peas give the soup a fresher flavor, but it remains a point of discussion in my household. The traditional, familiar split pea soup is still favored by some. Here's a recipe: Martha Stewart's Green-Pea Soup with Cheddar-Scallion Panini This is a Calendar of Days post: Homemade Soup Day 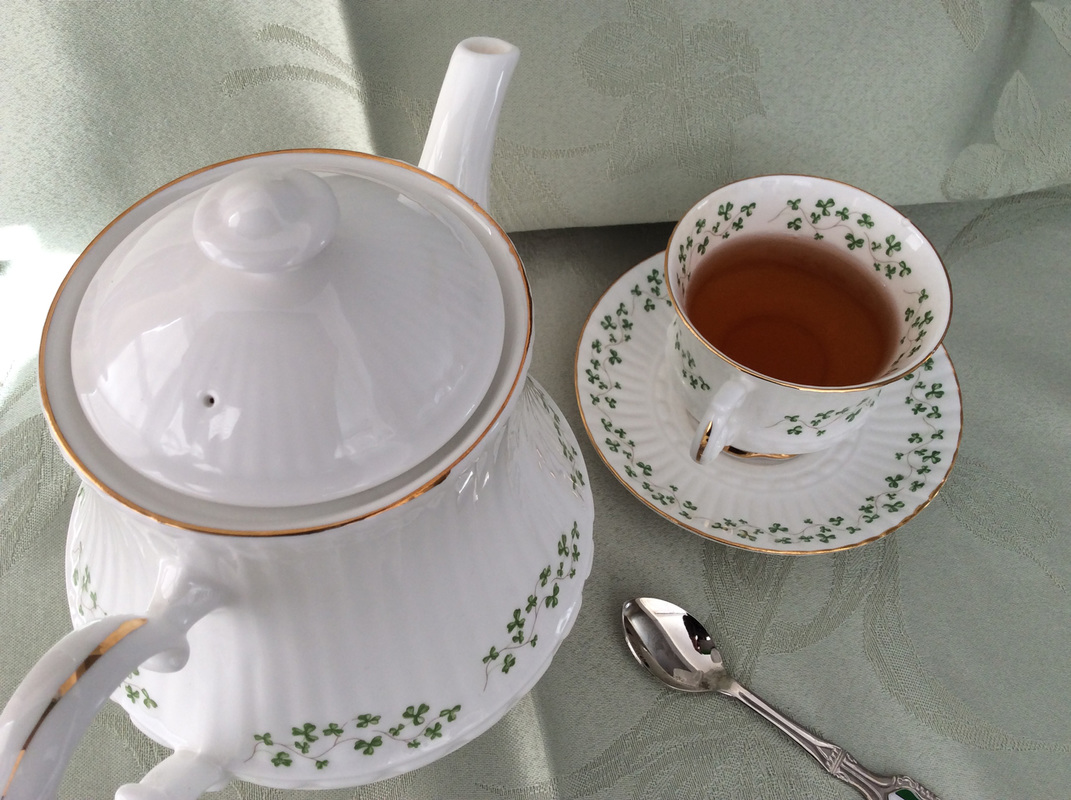 January is Hot Tea Month We were young twenty-somethings, just settled in a new apartment when a large box arrived—an unexpected box. It was a gift from my husband’s grandparents who had just returned from a trip back to Ireland, the country they had both emigrated from years before.
Inside we found a lovely tea set. To say we were delighted and surprised would be an understatement. We were at the time, living together, unmarried, with no nuptials planned anytime soon. It was, it seemed, a blessing of sorts. A sign that they had faith in our union? Perhaps, though its first service would be steeped in panic, sweetened with kindness and humor. It was soon after receiving the box that we received word that “Big” Nan was coming to visit my husband’s parents. Nan stood nearly 5’3”, petite and utterly charming. Her Irish brogue as sweet as the apple crisp I would present at our first tea service. Upon hearing the news I suggested we invite Nan for tea. And yes, my husband agreed. He promised to call his mother and arrange a date. But there was no rush, Nan would be visiting for nearly a week, plenty of time to make arrangements. Or so we thought. It was Friday, late afternoon when the call came. “Nan and I want to stop by for a visit,” my mother-in-law said, “and we’re on our way.” What? I couldn’t refuse them, but I was alone. Their son/grandson had just left. Ten minutes earlier he jumped into the passenger seat of his buddy’s 1970s AMC Javelin and pulled away. This was before cell phones. No way to get in touch, no way to bring him back. I was on my own. And if nothing else, I had to serve tea. With a 20-minute window to pull things together I peeled a few apples, spread them in a baking dish, dotted them with butter and brown sugar and turned the oven on. Though I’ve overcome my early shyness, this was a stretch for me. I was nervous. Stumbling through my first tea service, I forgot to put out forks for the apple crisp, only recognizing my omission when I saw sweet little Nan politely eating her dessert with one of the souvenir spoons I had laid out for stirring our tea. Oh, we laughed, and they gushed over the dessert, the apartment, and how nice it was to visit. Their kindness soothing my nerves. It was a lovely visit. And then they, too, pulled away . . . 10 minutes before the return of my Irish sweetheart. This is a Calendar of Days post.  It's Popcorn Day!
Guest Post by Lisa Parker, Cakes for All Seasons I love plain popcorn. I don’t need it slathered in butter or sprinkled with salt. Just plain popcorn for me, thank you very much. But not microwaved popcorn. Can’t stand the smell. I’d rather get out a heavy pot, put in enough oil to lightly coat the bottom, and add a single layer of kernels. Put the cover on and wait for the pop pop to start, shaking the pan until the popping ceases, dump it in a big bowl, and start munching. Yum. In high school I was on the “college prep” track which meant that we weren’t supposed to take shop or business classes. I rebelled and took both wood shop and a personal business class. My folks have a much-cherished butcher-block table to show for my efforts, and I learned to balance a checkbook. Everyone should take these classes . . . but that’s another blog post. One day our business teacher arrived with two kinds of popcorn: the fancy Orville Redenbacher brand and the plain, store brand. We had just completed a week of discussions on buying store brands vs. name brands, checking unit pricing and bulk vs. smaller unit buying and assumed that popcorn was an end-of-week treat. It was, but it also provided a valuable lesson. She poured a cup of each brand and proceeded to pop them separately. We checked the number of unpopped kernels and measured the amount of popped corn for each. Our findings? While more expensive per ounce, the Orville Redenbacher yield was higher and there were few if any unpopped kernels (aka old maids), left behind. We did some algebra and determined that in the end, the Orville Redenbacher was a better buy than the less expensive, lower-yield store brand. That lesson of 36 years ago was so powerful that when I buy store brands today, I still wonder if I’m really getting a better deal. Yesterday, I decided to re-do the popcorn experiment and popped a half cup of each. Happily, nearly all the kernels in each popped, but the Orville Redenbacher batch yielded 30% more — it was fluffier. Today’s cost difference is far more than it was four decades ago: six cents an ounce for the store brand vs. 16 cents for Orville’s kernels. So is 30% more volume worth almost three times the cost? Nope! And, if you dress up the popcorn, can you really tell the difference? Check out these recipes for flavored popcorn I found at the Food Network Magazine site. What’s your favorite way to serve popcorn? Lisa Parker has been playing with desserts for years. After 20 years of baking desserts and playing with cake, she attended the French Pastry School in Chicago and graduated, with honors, from the L'Art Gateau program. She creates “delicious, joyous cakes and desserts” for wedding couples, party planners, and party goers in southern and coastal Maine, southern New Hampshire, and the Mt. Washington Valley. Lisa can be found at Cakes for All Seasons where she says, “Let’s meet, I’ll bring the treats!” This is a Calendar of Days post. 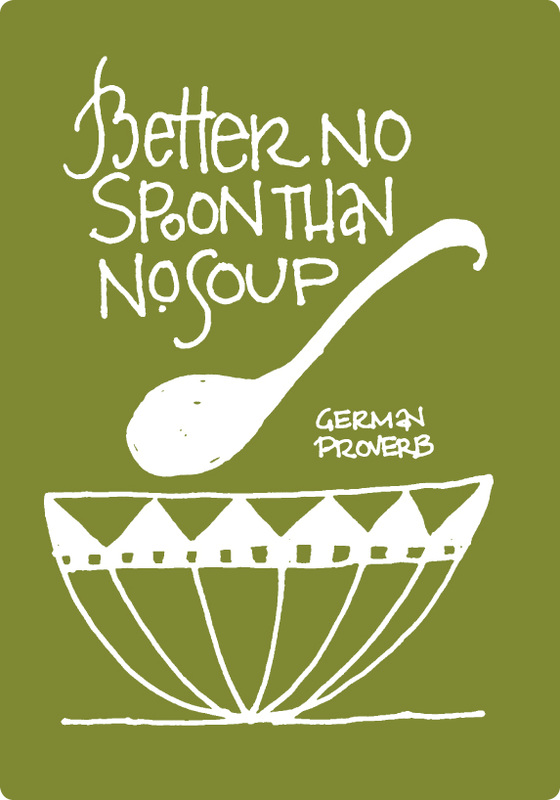 January is Soup Month, and as I researched this post, I came across this proverb. It caught my attention because it made me think of how often we hold off pursuing something until we have everything we think we need to start (or finish).
Good manners dictate that we eat soup with a spoon, but you can also slurp it from the bowl. It may be less dignified and even messy, but it won't affect the flavor of the soup. 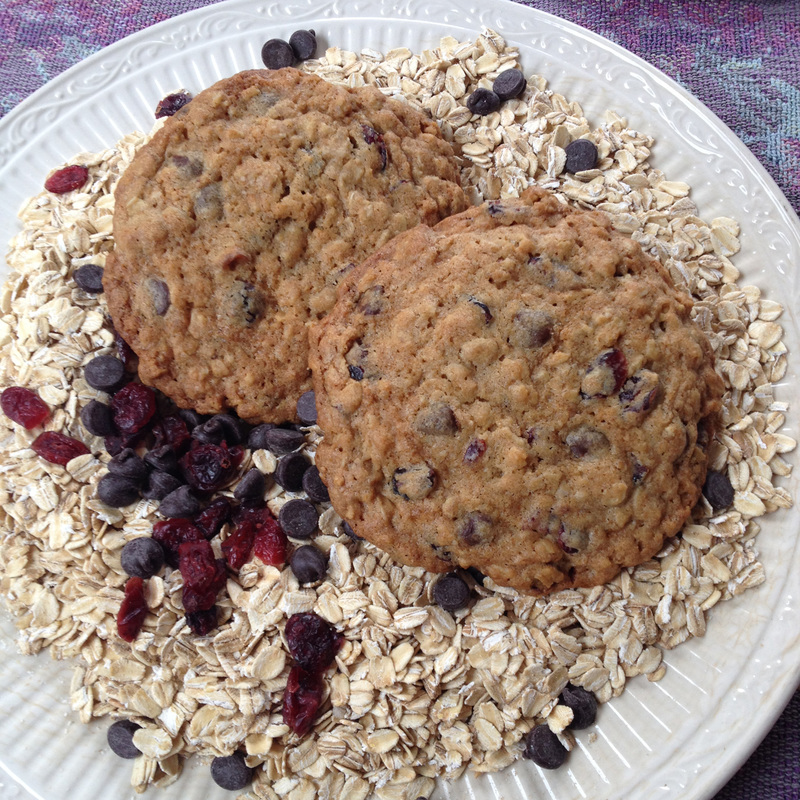 Oatmeal: Like it or lump it?
Guest Post by Lisa Parker, Cakes for All Seasons Lumpy oatmeal, with plenty of butter, a dash of crunchy kosher salt, heavy cream and brown sugar. That’s what I’d like my last breakfast on earth to be. In the meantime, I’ll settle for lumpy oatmeal with plain yogurt. Why lumpy, you ask? Well, when my parents were courting, my father was an Air Force pilot stationed at Loring Air Base in northern Maine. My mom’s family lived on a potato farm not far from the base. When dad got off duty, he would often stop by the farm very early in the morning and have breakfast with my grandparents. Gram made lumpy oatmeal that he adored. When mom came downstairs, ready to leave for work, Gram would announce that “Bill came by for breakfast.” I always loved that story. My other favorite way to eat oatmeal is, of course, in cookies. I have a recipe for chocolate chip cookie with oatmeal in it that I’ve made over the years with golden raisins, cranberries, nuts and toasted coconut. Adapted from a wonderful little cookbook called Diner Desserts by Tish Boyle, it is my go-to recipe for big, yummy cookies. ------------------ Lisa Mae’s Kitchen Sink Oatmeal Cookies Have all ingredients at room temperature. brown sugar, firmly packed - 1 1/3 cups (10 oz) granulated sugar - 1/3 cup (2.3 oz) unsalted butter - 1 cup (8 oz) salt - 3/4 tsp eggs, large - 2 vanilla extract - 1 T all purpose flour - 1 3/4 cups (8.75 oz) baking soda, - 1/2 tsp baking powder - 1/2 tsp rolled oats (not instant) - 2 cups (6 oz) Kitchen sink options: 2 1/2 cups (12 oz) or more of any combination of the following: chocolate chips, white chocolate chunks, dried cranberries, raisins, toasted nuts, toasted coconut, dried cherries, chopped apricots, or replace some or all of the oatmeal with your favorite granola, you get the idea! Directions: Cream the sugars and butter until light and fluffy. Add the salt here to make sure it’s mixed in really well. I use kosher salt because I like the little crunch it gives when you bite into it. Add the eggs, one at a time, and the vanilla, mixing well after each egg is added. I use pure vanilla extract. My current favorite is Mexican vanilla. It smells like heaven and adds a rich, creamy flavor. Add the flour, baking soda, baking powder and oatmeal. I sift in the baking soda because it’s often lumpy and doesn’t always mix in well. My tiny strainer is perfect for this.I weigh my flour. If you don’t have a scale, use the “dip and sweep” method presented by Dédé Wilson of Bakepedia.com. If you put the oatmeal in last, it helps keep the flour from making a dusty mess. You can also put your “kitchen sink” additions in here. Mix until everything is uniform. The more you mix, the tougher your cookies will be so don’t over mix. Dump the dough out onto the counter to make sure there aren’t any globs of butter and sugar at the bottom of the bowl. If there are, mix them in by hand until it’s a uniform mass. Now that the dough is mixed, it’s time to scoop. My favorite kitchen tools are my assorted sized scoops. They make uniform cookies, pancakes and muffins. Since I sell my baked goods, I make notes on the yields of recipes using different sized scoops so I can accurately price my desserts. Cookie recipes often instruct you to chill the dough for at least an hour and then scoop. It’s so much easier to scoop the dough when it’s soft then chill the portions. Put the scoops on a tray, close together. Once they are firm, you can wrap them up in packages, label and freeze for another time. To bake, pre-heat the oven to 350F, and place the dough portions on a cookie sheet lined with parchment paper leaving room between them to spread. If the dough is just out of the freezer, allow it to warm up to room temp. If just out of the fridge, allow to sit out while the oven pre-heats. Flatten the dough balls with the palm of your hand. Bake until they are as done as you like them! I bake mine for 12-15 minutes depending on the size of the dough ball. I like a big cookie, soft in the middle, just baked through. If you you like them crisp, pull them out of the oven halfway through, flatten them some more with a metal spatula and return to the oven to finish baking. Cool and enjoy! If you don’t eat them all right away, put in an airtight container. Adding a crust of bread to the container will help keep the cookies from going stale. Lisa Parker has been playing with desserts for years. After 20 years of baking desserts and playing with cake, she attended the French Pastry School in Chicago and graduated, with honors, from the L'Art Gateau program. She creates “delicious, joyous cakes and desserts” for wedding couples, party planners, and party goers in southern and coastal Maine, southern New Hampshire, and the Mt. Washington Valley. Lisa can be found at Cakes for All Seasons where she says, “Let’s meet, I’ll bring the treats!”
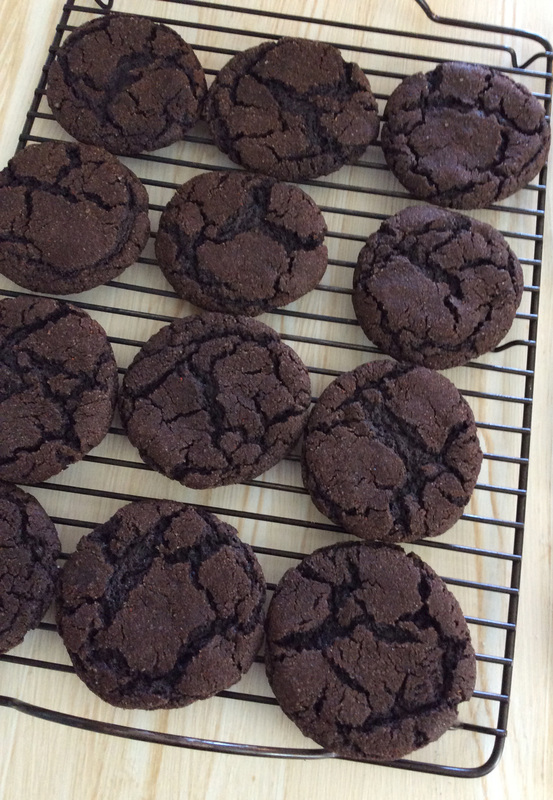 Mexican Hot-Chocolate Cookies "She broke out of a bout of self-pity and |
 |
Our forecast for this weekend calls for rain again. If it's raining (or not) where you are, challenge yourself with some friendly competition or to try something new:
1) Plan ahead and stir up some goodness. Visit your local farmer's market and buy something you're not familiar with (collard greens, squash, eggplant?), or grab some in-season fruit (peaches maybe, or blueberries), find a recipe, and stir up some goodness.
2) Board games and cards. Get a competition on and see how well you do. Win, and you may be challenged to a rematch.

Categories
All
ABCs Of Letter Writing
Always A Project
Art
Baking
Birding
Calendar
Calligraphy
Cars
Celebrity
Collage
Collecting
Conservation
Cooking
Design
Fortune Telling
Games
Gardening
Goals
Greeting Cards
Hand Lettering
Hiking
History
Hobbies
Illustration
Keys
Letter Writing
Library
Love Letters
Magazine
Maps
Model Building
Movies
Music
Outdoors
Packaging
Painting
Print
Pursuits Magazine
Quizzical
Reading
Research
Sewing
Snowman
Sports
Stamps
Statues
Steampunk
Style
Tea Cups
Theater
Tools
Traditions
Travel
Voting
Walking
Writing

Archives
April 2016
March 2016
February 2016
January 2016
December 2015
November 2015
October 2015
September 2015
August 2015
July 2015
June 2015
May 2015
April 2015
March 2015
January 2015
December 2014
November 2014
October 2014
September 2014
August 2014
July 2014
June 2014